The other day while I was returning home I realized that the Halloween decorations that me and my partner had put up were vandalized! This then prompted me to find some sort of security camera for our house but as per usual I wanted to find some sort of way to over engineer this.
What you will need to start
- Hardware
- Raspberry Pi: I am using the Raspberry Pi 2B but I have heard most raspberry Pi models will work for this project
- Some sort of webcam: I am using a 1080p webcam that I usually use for my computer
- SD card: storage for the raspberry pi which if you plan to store a lot of images you may want this to be larger
- (optional) WiFi adapter or Ethernet cable: some of the later pi models come with this on the board but mine does not
- Software
- Raspberry Pi Imager: this will be used to put our OS on the
Step 1: Install Raspberry Pi OS Lite
The reasoning behind using the Lite version is just to save on hardware as the regular Raspberry Pi OS comes with a graphical desktop interface that we will simply not need.
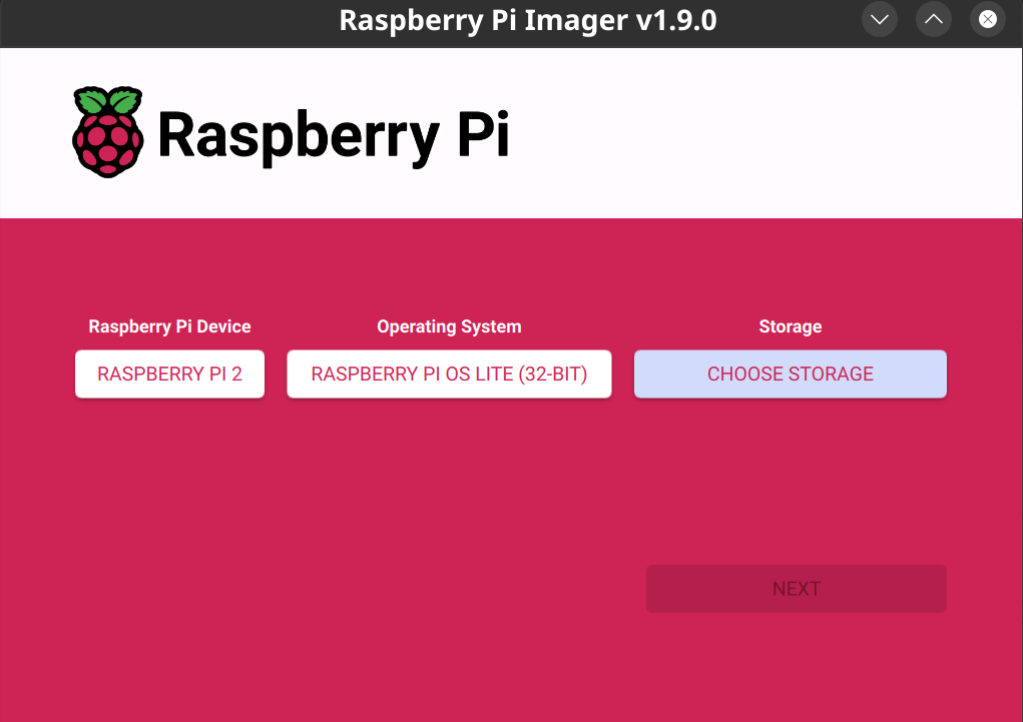
Now, with the SD card inserted into our computer, we will open up the Raspberry Pi Installer. Select your Raspberry Pi model, Raspberry Pi OS Lite (for me I used the 32-bit but use whatever is available for you for the Lite OS). Finally, select the SD card in under Storage. It should look something like this (I don’t have my SD card inserted in this image but yours should show whatever storage you have chosen).

Now we will click next and customize our settings to make sure that we have a username and password set up, networking and ssh.
Warning
Make sure to set up the following services in the Raspberry Pi Installer settings before you install the OS on the SD card or else you may not be able to access your Pi remotely to continue
- Username and password
- WiFi
- SSH
Now that we have all of our settings done we can install the OS to the SD card (this will take a few minutes so feel free to do something in the meantime). When it is done you will get a message saying it has been installed and you may now remove the SD card.
Step 2: Connecting to out Pi
First, we must figure out the IP of our Pi which can be done in a lot of ways but two of my go to methods are either:
- Router settings (must have router login): for this method we first must know our local IP address which will typically start with 192.168.X.X but could also start with 10.X.X.X or even 172.16.X.X to 172.31.X.X. Now to sign in we will go to X.X.X.1 where the first three numbers are the numbers from our local IP address. For me that works out to be 192.168.2.1. Once we are at the login portal for our router we will log in and find wherever our connected devices are and usually it will say which one is the raspberry pi and this is the IP we will use.
- Nmap: using a tool called nmap we can scan local devices on our network to find our pi. We will once again need to know our local IP address so refer to the first method on how we can find that. Once we have found our local IP address we will use the command
nmap X.X.X.0/24where the first 3 numbers are the numbers from our local IP address. This will give us a list of IP addresses with the ports that are open. During the settings of the previous step we should have only set up SSH so you should see a device on the network with only SSH running and that is our Pi so note down the IP address. For me this likes like the following: As we can see for our Pi the IP address is
 192.168.2.34. To log-in now all we need to do is enter in the following command on our computer.
ssh USERNAME@IP_ADDRESSFor me this command looks like:
ssh [email protected]After this you should be logged in! Your command line will now look like:
humblefox@raspberrypi:~ $Step 3: Installing Docker
Docker is an extremely handy tool that allows all of our different applications to run in their own virtual “container”. This is handy as it allows us to easily download publicly available containers and run them with Docker with little issue as each container is like its own virtual computer so we do not need to worry about configuration inside the container as it ships with everything it needs.
To install docker there is a helpful little script that we can use.
curl -sSL https://get.docker.com | shIt may seem like it’s not doing anything but give it a minute or two and you will start to see it install which will take a while. After this we will want to be added to the docker group so that we can run and control the docker containers.
sudo usermod -aG docker $USERIn order for the changes to go into effect we will need to log our of the ssh with the exit command and sign back in like we did before. To test that we have installed Docker correctly we will use the command that lists all current docker images.
docker psIf your output looks like the following then you have successfully installed docker!
CONTAINER ID IMAGE COMMAND CREATED STATUS PORTS NAMESStep 4: Installing MotionEye
MotionEye is the software we will be using to control our camera and detect motion. It is very feature rich so I would highly recommend playing around with it once you get it up and running!
Now that we have Docker installed, installing MotionEye will be much easier as we just need to download the MotionEye Docker container. We will be using the armhf release as this one will work on Raspberry Pi.
docker pull ccrisan/motioneye:master-armhfNote
I would recommend you plug your camera into your Raspberry Pi now so that we can see it once we get MotionEye up and running.
After the container image is done downloading we can run it.
docker run --name="motioneye" \
    -p 8765:8765 \
    --hostname="motioneye" \
    -v /etc/localtime:/etc/localtime:ro \
    -v /etc/motioneye:/etc/motioneye \
    -v /var/lib/motioneye:/var/lib/motioneye \
    --restart="always" \
    --detach=true \
    --device=/dev/video0 \
    ccrisan/motioneye:master-armhf
Info
--name: setting the name of the Docker container when it runs so thatdocker pswill show the name of this container as “motioneye”-p: this exposes the port inside the docker container 8765 so that it can be reached outside the container at 8765-v: this is mounting volumes which will allow Docker to access where we havePATH/ON/PI:PATH/IN/DOCKER--restart="always": means whenever the Docker container goes down we will restart the container--detach=true: this makes it so the container will run in the background without us needing to keep a terminal open--device: this is where we add devices we want to pass through to our container. In my instance I passvideo0which is where my camera is. If you are not using a USB web camera or if this option does not work for you, then you may have to play around with this.- The final command is simply the name of the Docker image we are running. We could have skipped the previous command and simply executed this docker run command but I wanted to make things more clear.
Warning
You may get after running this command
WARNING: The requested image's platform (linux/amd64) does not match the detected host platform (linux/arm/v7) and no specific platform was requested. This is normal and okay! We can usedocker psto check that it is indeed running.
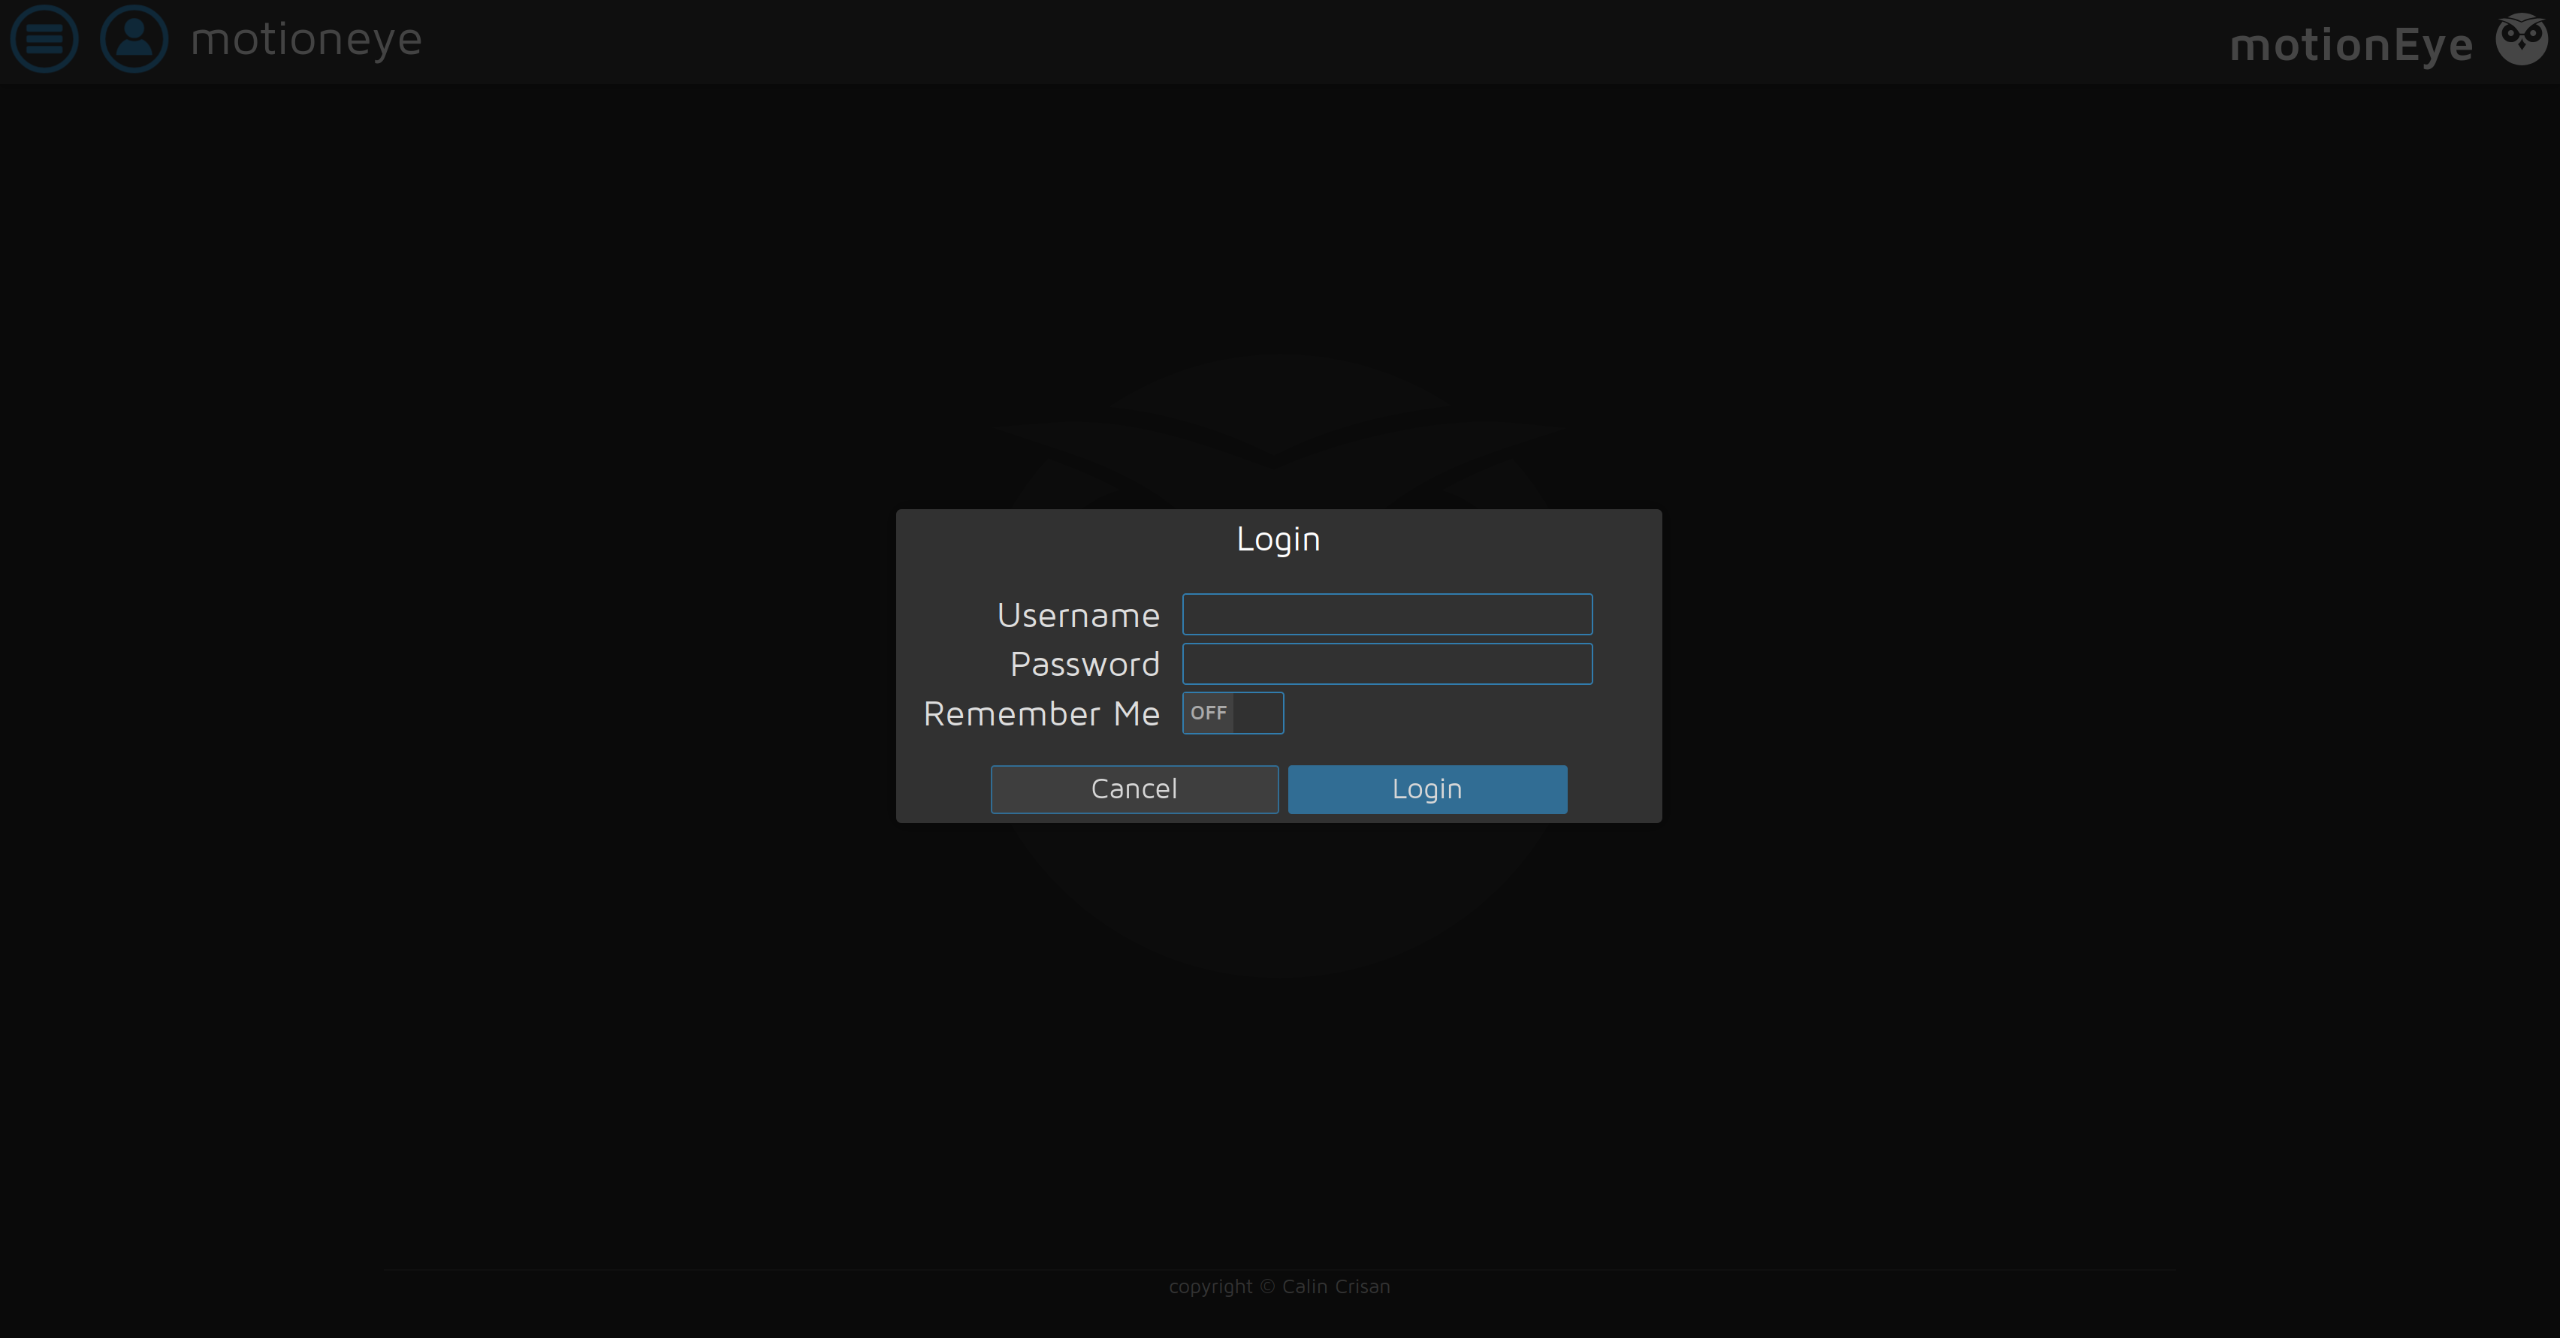
Now that we have run that command we can go to our browser and enter in YOUR_IP:8765 where we replace YOUR_IP with the local IP of your Raspberry Pi. Tadah! We get a login screen 🎊.

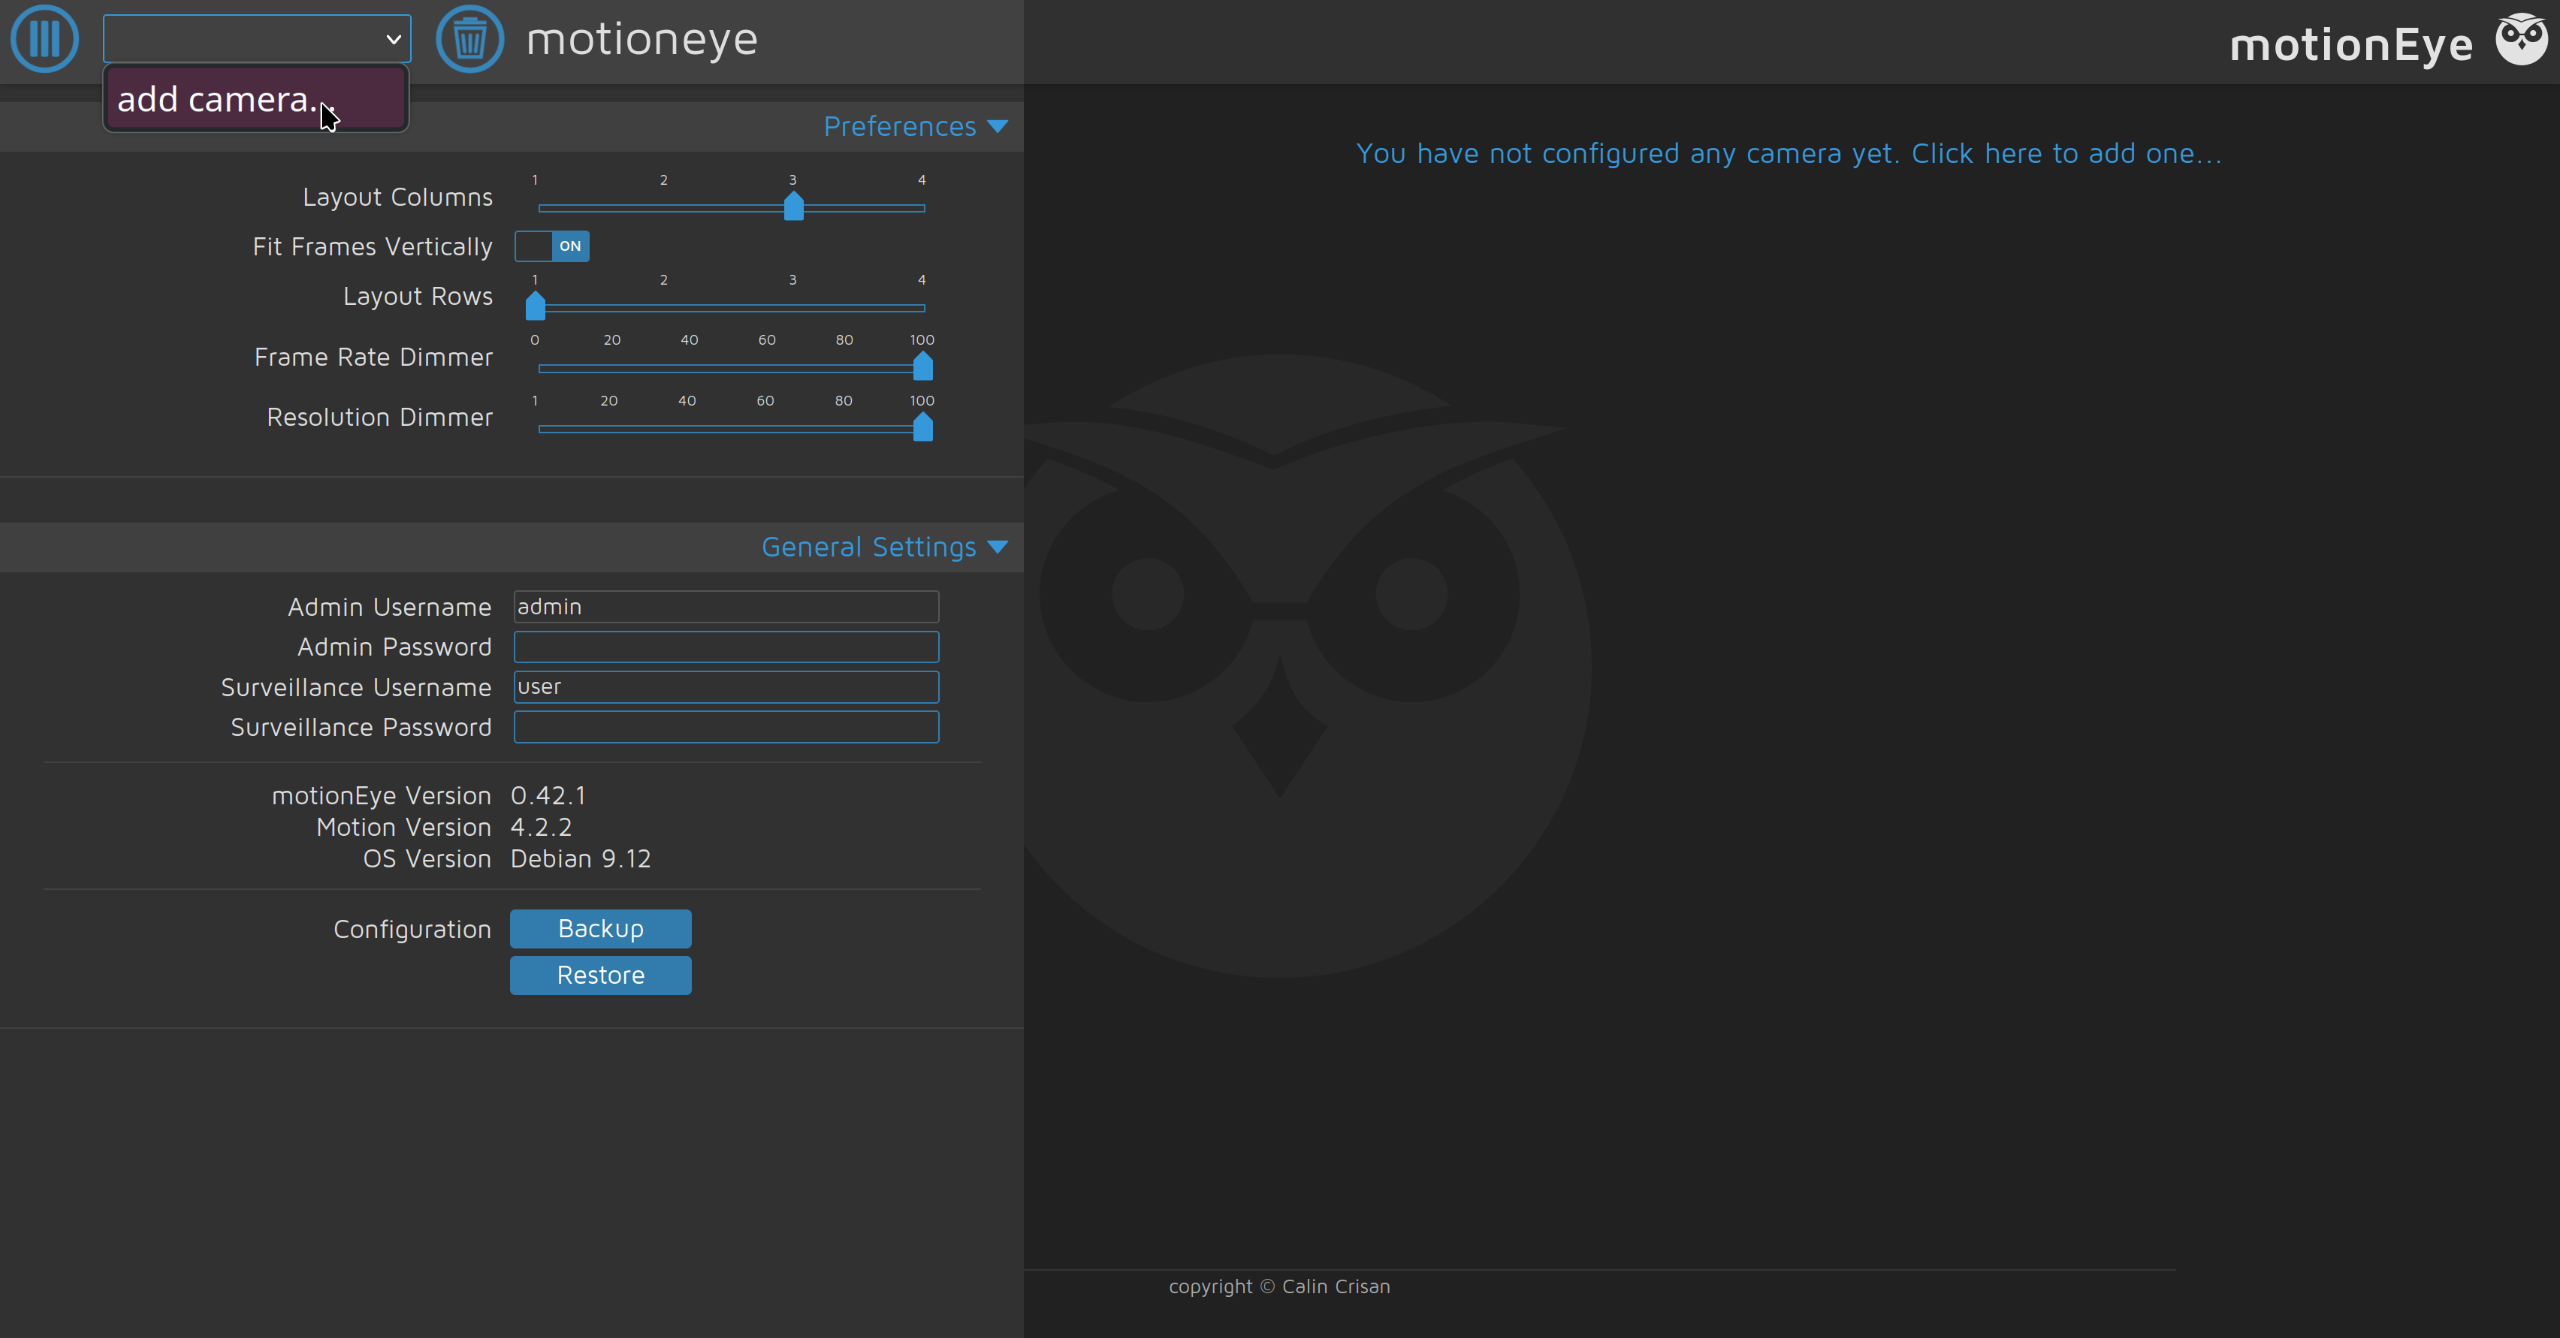
We can login with default username admin and keep password blank and hit enter to login. We will then navigate to the left and open the hamburger menu and find where we can add a new camera.

How to add each camera will be different and this is where you will probably need to play around a bit. For me when I clicked on add camera it happened to just work so if you see your camera listed when you hit add camera then just click ok.
Note
Configuring MotionEye will be highly personal to what you want. I would honestly recommend just playing around with the settings and getting the motion detection dialed in to where to you like it.
Congratulations! You now have your security camera up and running!
Step 5: Installing ZeroTier
ZeroTier is a great tool for allowing multiple devices to act as if they are on one singular virtual LAN. This means that if we want to check our camera when we are not home we can connect to ZeroTier where we can then access our Raspberry Pi without the need for portforwarding!
To install ZeroTier we will use the command provided by ZeroTier to install on Linux.
curl https://install.zerotier.com/ | sudo bashOnce we have installed ZeroTier, we can then go to https://my.zerotier.com/login and create an account. After this we will create an account with the free plan (no credit card required) and click create a network. Once we have created the network, copy the NETWORK ID which is a string of 16 numbers and letters.
Coming back to our Raspberry Pi terminal we will run the following command which will add us to the virtual network.
sudo zerotier-cli join NETWORK_IDNote
Replace
NETWORK_IDwith the ID of the network you created in ZeroTier.
Once we have done this we will need to go back to ZeroTier and click the checkbox next to the device you wish to authorize.

Tip
There should be only one but if there are multiple or you want to be cautious you can check that you are authorizing the correct device by running
sudo zerotier-cli infowhich will say your device ID after info. It should look like the following whereDEVICE_IDis the ID of the device to authorize in ZeroTier.200 info DEVICE_ID 1.14.2 ONLINE
After this feel free to add ZeroTier to any other device and log into the network! You will now have access to your home security camera from anywhere in the world with secure remote access.