What you will need to get started
- Obsidian: this is my preferred note taking app so it worked great to integrate it directly into my blogging.
- Cloudflare Pages: this is how we will end up hosting the blog and it has a generous free plan.
- GitHub account: this will be needed to store the code to your website.
Step 1: Downloading Quartz
Quartz is a great tool created to turn markdown files, which cannot be directly read by a browser, into html, which can be read directly from a browser. To start we will find a folder we want to create our blog in and use the following commands:
git clone https://github.com/jackyzha0/quartz.git
cd quartz
npm i
npx quartz create
This will set up the project automatically in a folder called quartz. If you run into any issues please check out the wiki for Quartz.
Step 2: Creating content with Obsidian
Next we will open up Obsidian and find our way to the vault options and click open folder as vault
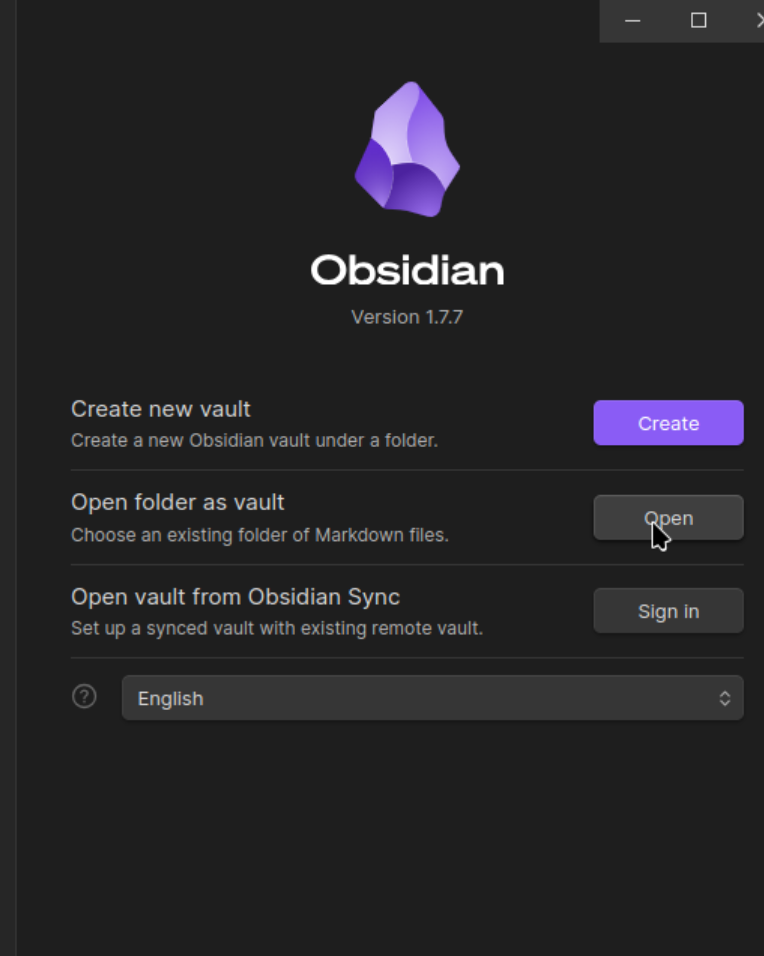
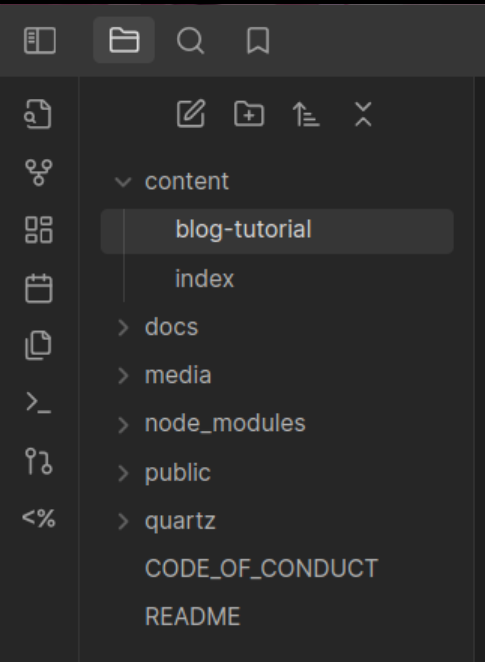
We can then navigate to our quartz folder and create our vault there. To confirm you have opened up the folder correctly, your file structure in the left of obsidian should look similar (it will likely have nothing in the content folder however).
Tip
I found it very helpful to download the file hider community plugin in Obsidian to hide all of the extra files and folders. The only folder we are going to care about in Obsidian is the content folder so make sure to keep that one visible.
Step 3: Creating our landing page
Create a new file in the content folder in our Obsidian called index and put in some markdown in the file. This new file we created will be the landing page for our site. For example we could use:
---
title: Welcome to my blog
---
# Hello World!
After this we can run the following command to preview our blog locally:
npx quartz build --serveWe can then go to our browser and find http://localhost:8080/ to view our blog locally!
Info
For more help please refer to the wiki for quartz as it is a great resource: https://quartz.jzhao.xyz/build
Step 4: Sync your files to GitHub
For this part I will be more or less summarizing the respective part in the wiki as it is crucial you follow the same steps to avoid misconfiguration.
We are going to start by creating a new repository without a .gitignore or README file. This new repository can be public or private it doesn’t really matter. Once we have done that, we are going to enter the following commands and replace REMOTE-URL with the URL of our git repository.
# list all the repositories that are tracked
git remote -v

# if the origin doesn't match your own repository, set your repository as the origin
git remote set-url origin REMOTE-URL

# if you don't have upstream as a remote, add it so updates work
git remote add upstream https://github.com/jackyzha0/quartz.git
Finally, we can use the helper function provided by Quartz to finish the setup.
npx quartz sync --no-pullTo ensure this has all gone well we can check our repository to see that our files have been updated.
Step 5: Cloudflare pages
Now that we have our blog code in GitHub we can now get it hosted on the internet! Once we are logged in and are on the Cloudflare dashboard we can head down to “Workers & Pages > Overview > Pages” and find the following screen.
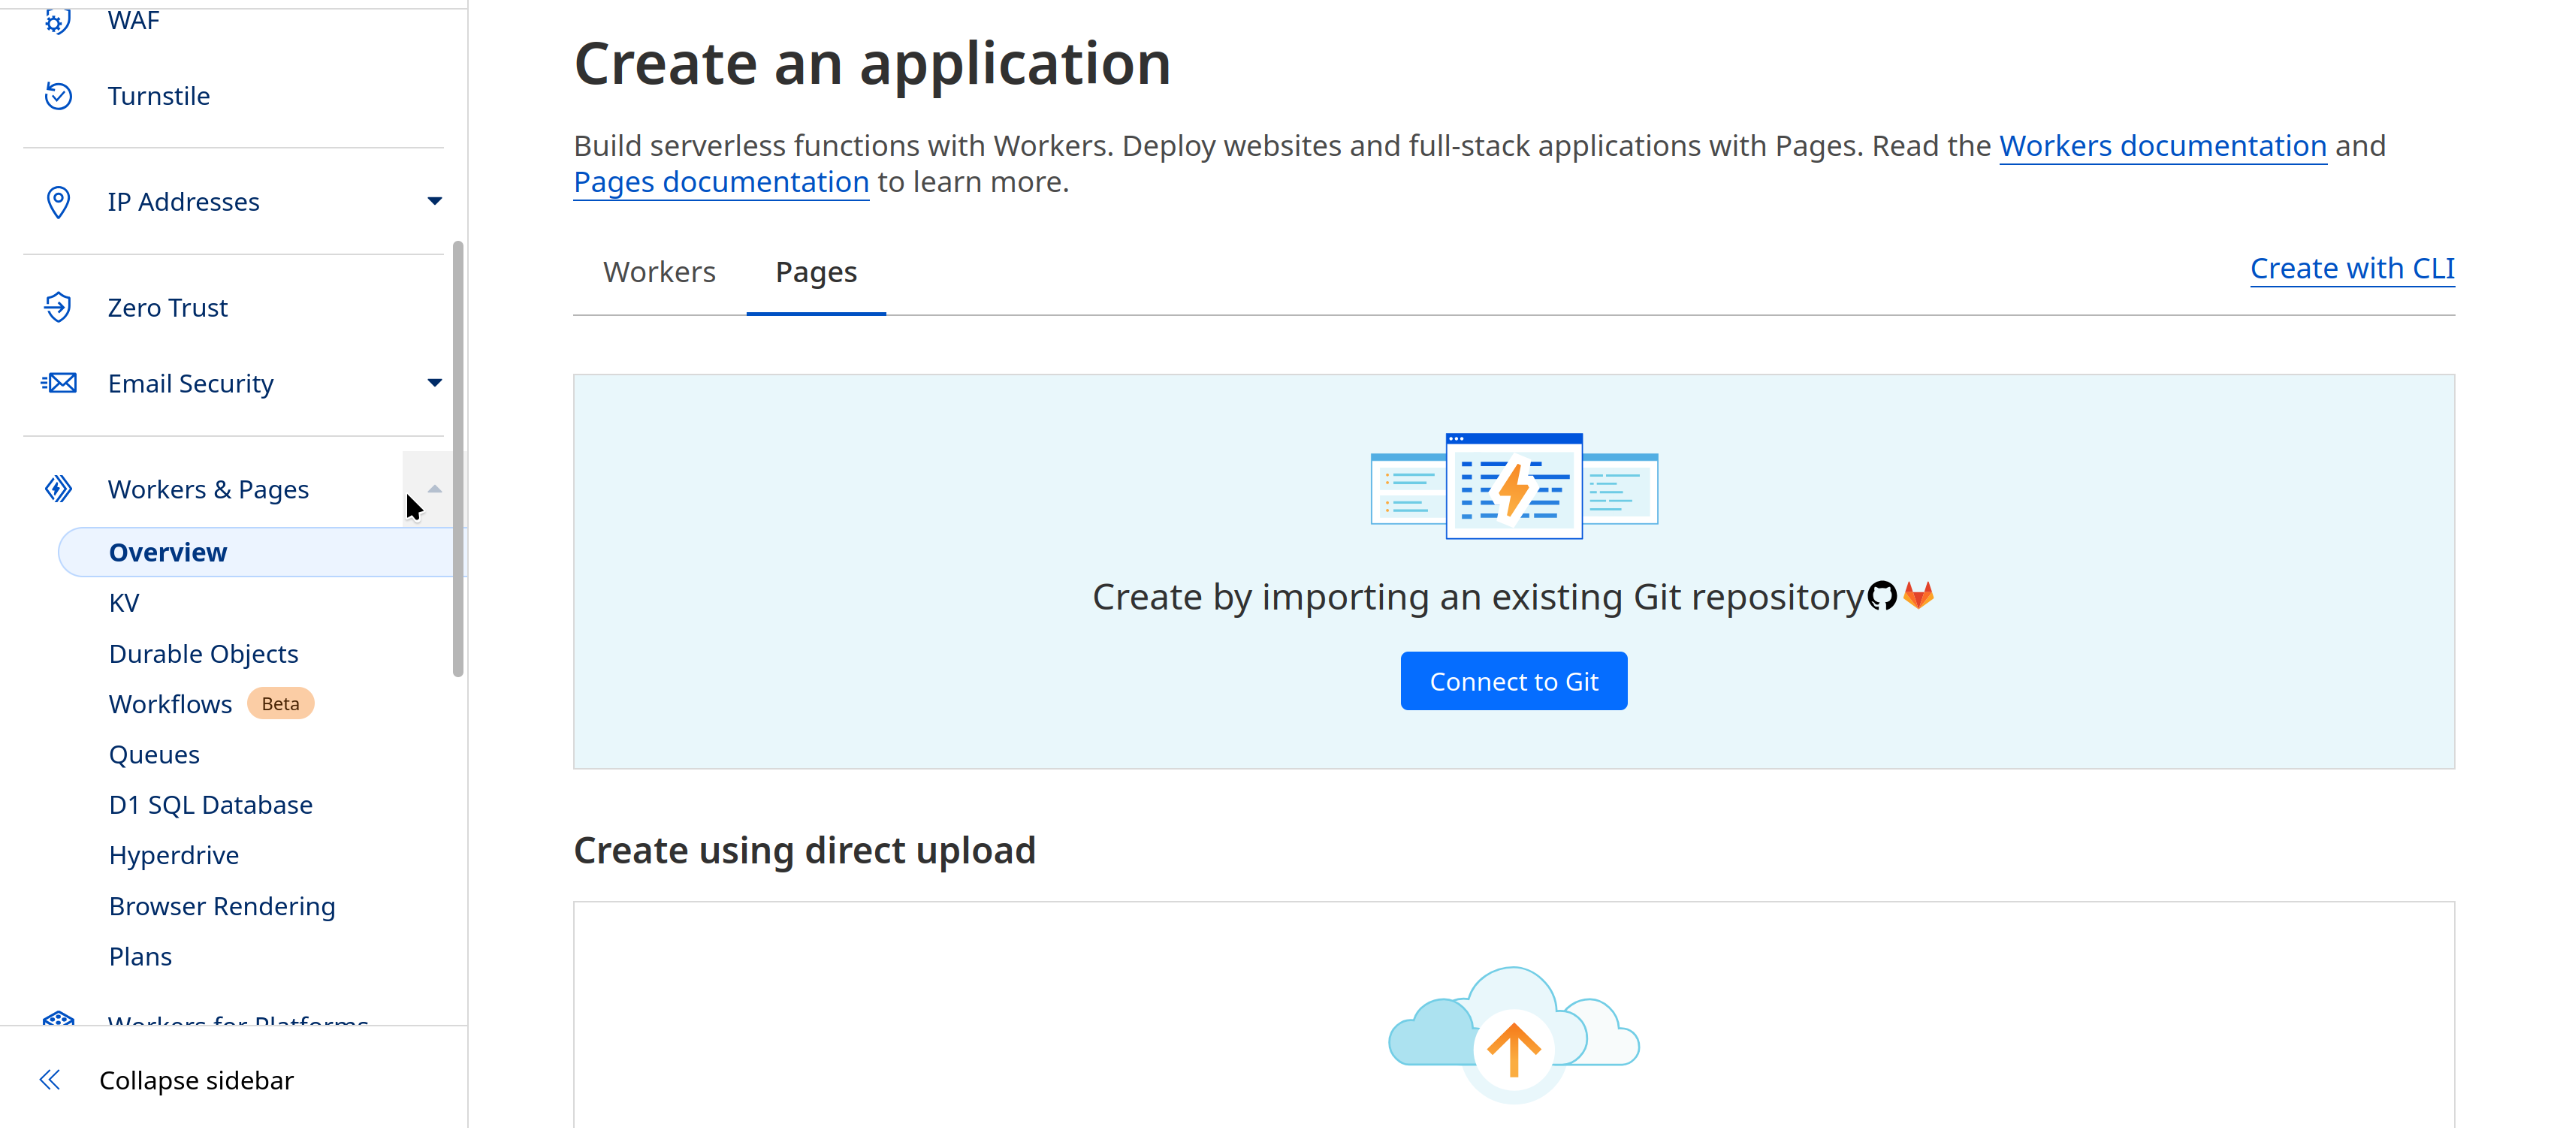
Go through the steps provided to connect your GitHub account to Cloudflare and stop once you get to the following page.
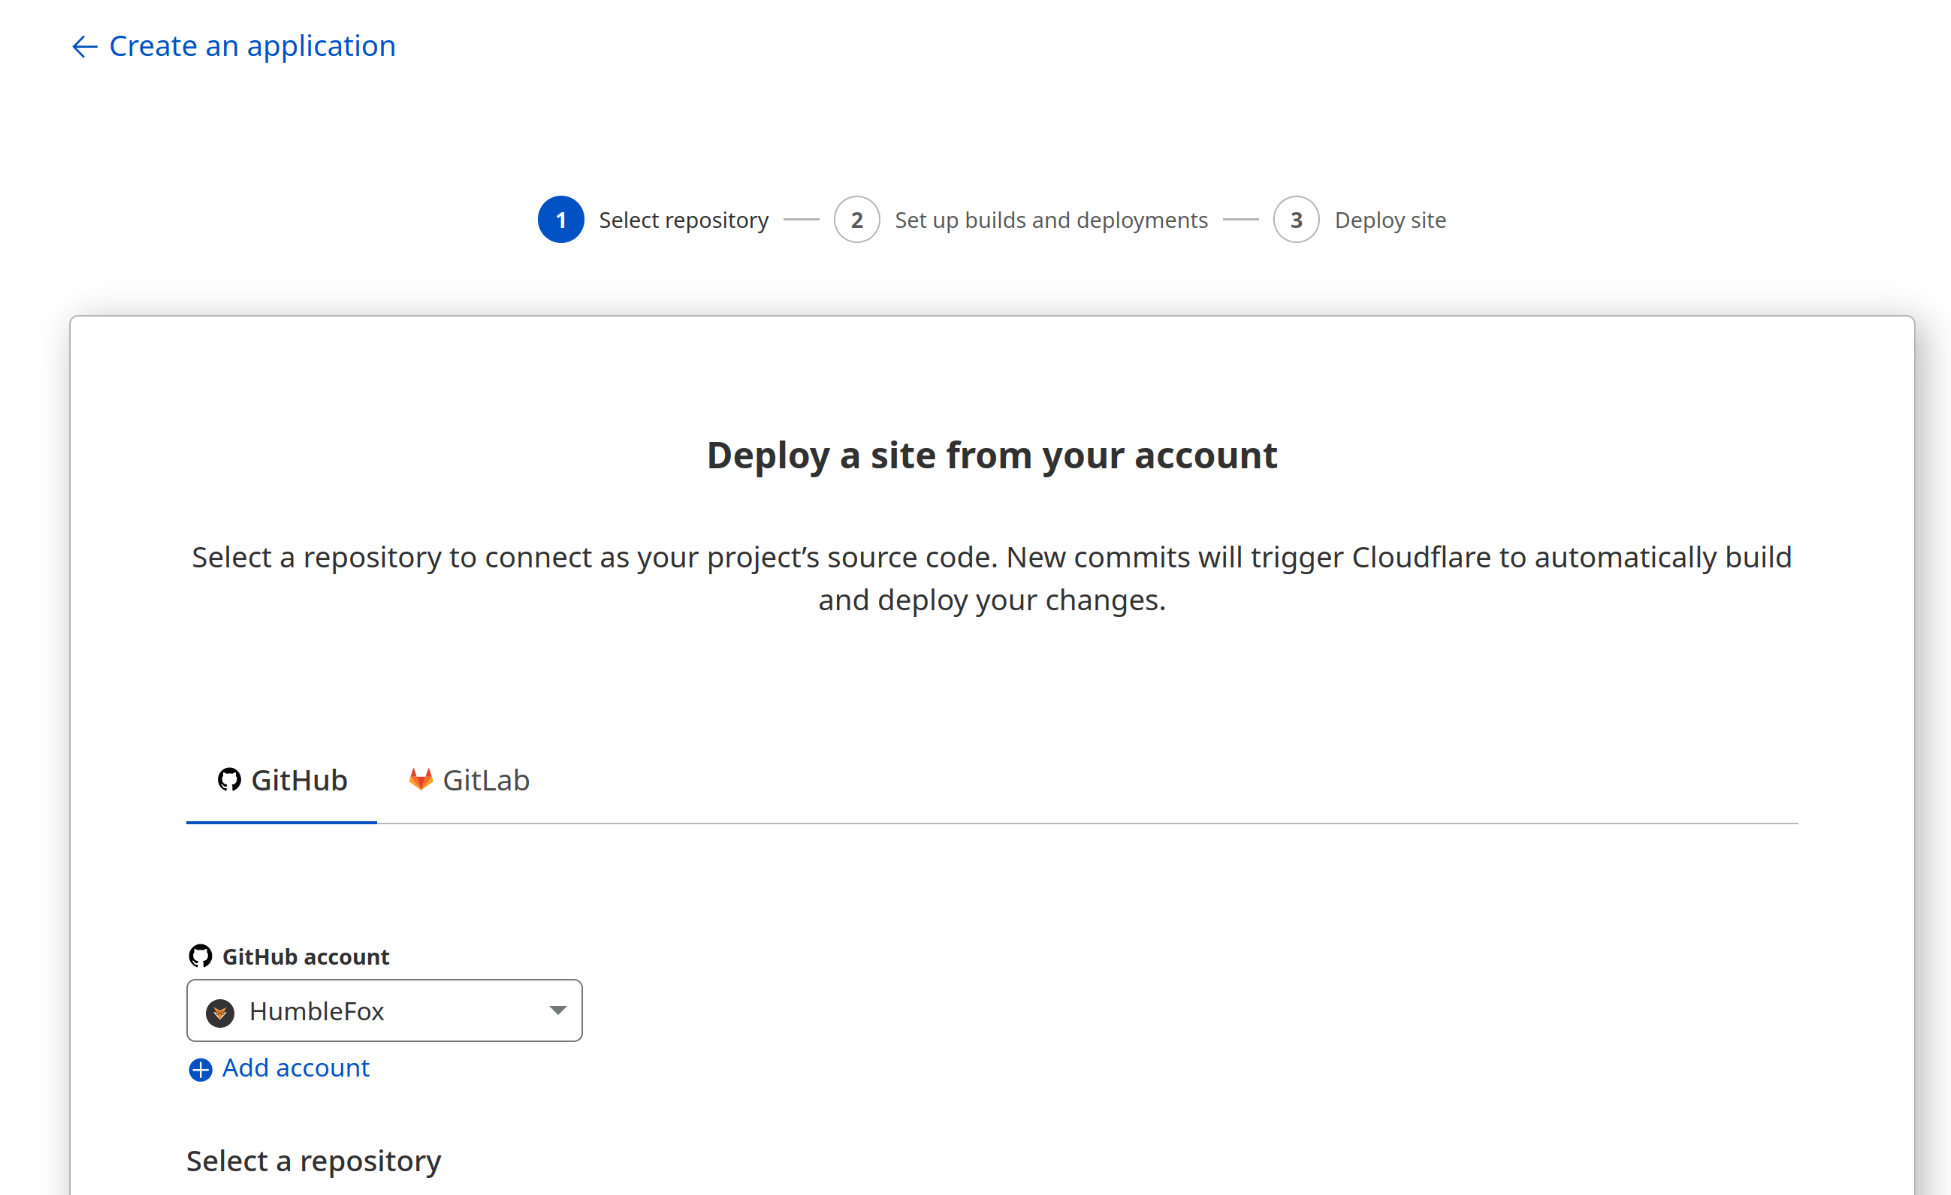
Down below we will select the repository we set up in the previous step and click “Begin Setup”. In the next step you will want to ensure that the production branch we are using is v4 which is the branch that npx quartz sync --no-pull created for us. Quartz is not officially supported by Cloudflare pages which is why we will not be using a framework preset. The build command npx quartz build will be run by Cloudflare each time we deploy our site and was the same command we used earlier to view our page locally but we are excluding the option --serve. The “build output directory” is the directory where Quartz stores all of the html files that were compiled from our markdown files.
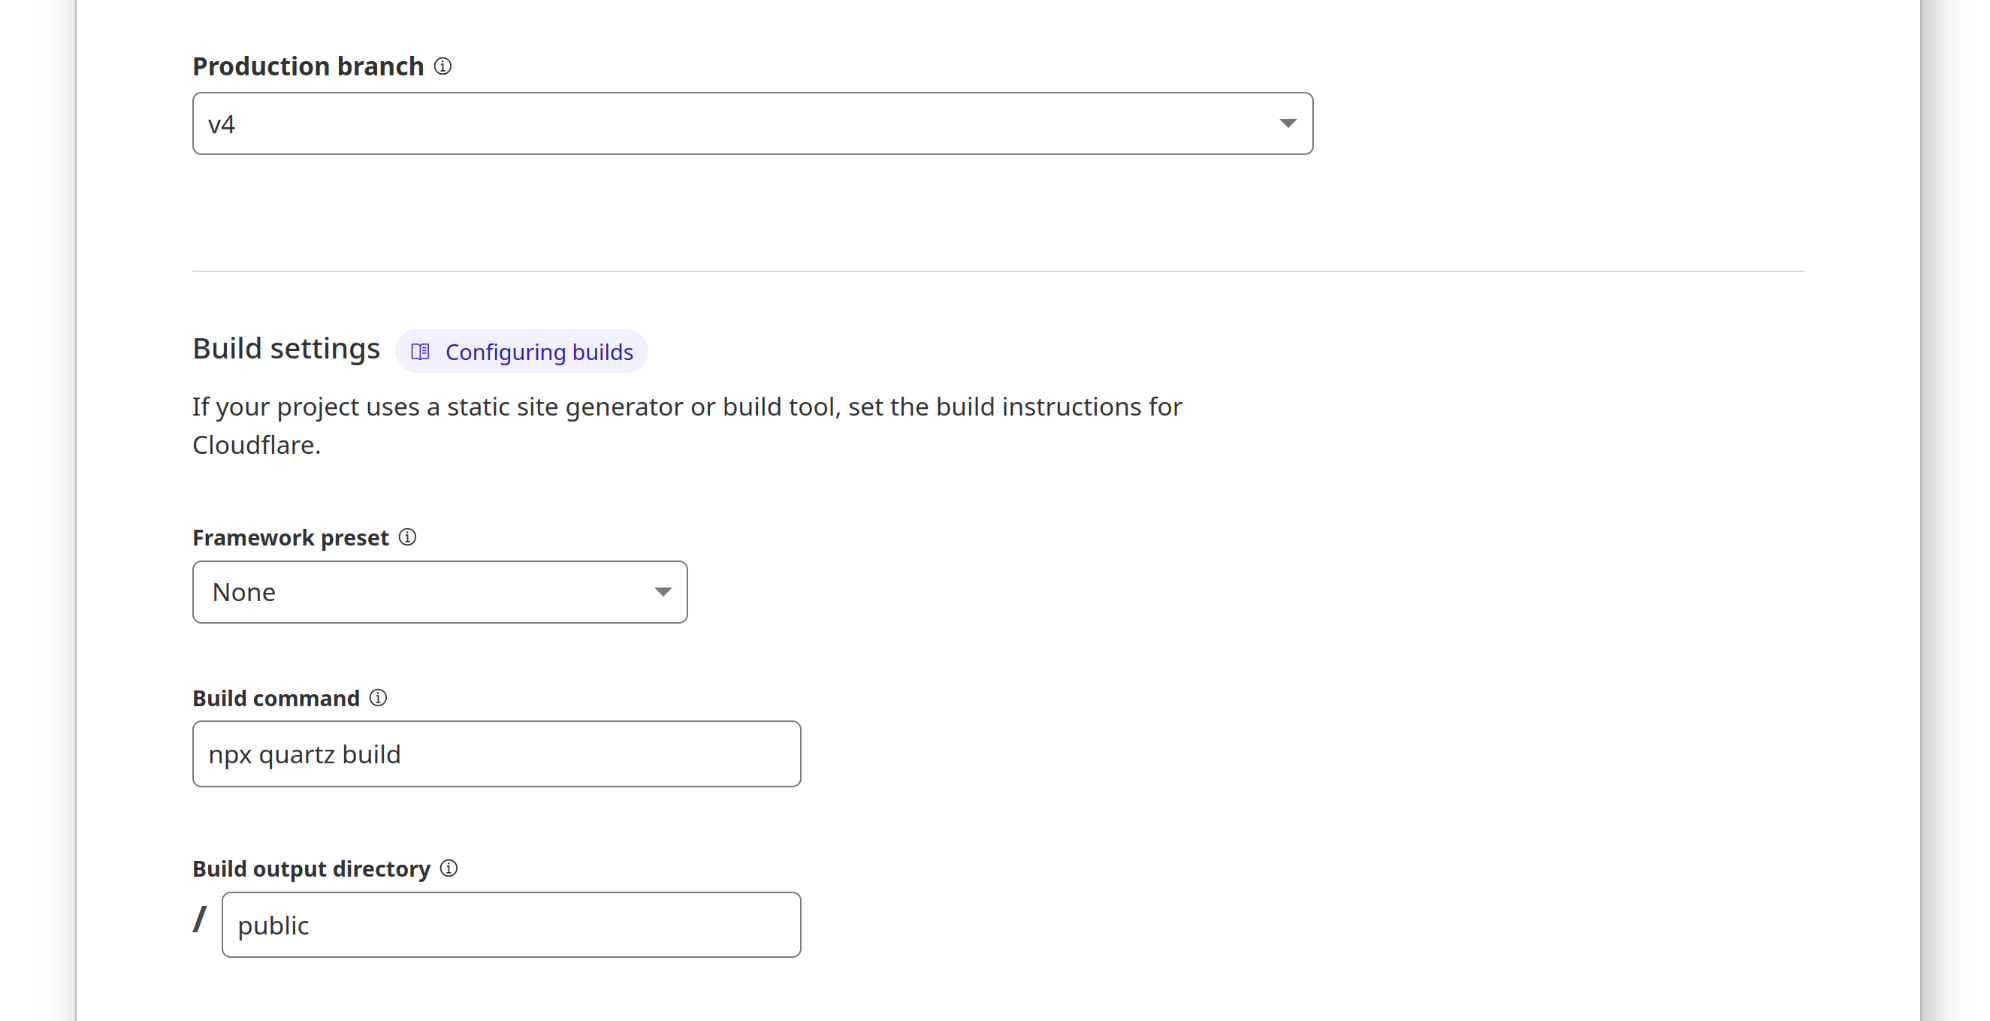
Once we have configured everything on this page then we can click “Save and Deploy” at the bottom and cross our fingers! If everything goes well then we should have a link to our page (the URL should end with .pages.dev)! Congratulations, now your blog is on the internet.
Step 6: Make more content!
Now that your blog is all set up, all we need to do now is make more content! When making content I would suggest using properties at the top of our Obsidian markdown files.
---
title: Example Title
draft: true
tags:
  - example-tag
  - another-tag
---

Your content goes here!!
For more information about making content please visit the wiki
Warning
If you are having trouble seeing images that are pasted in your content you may need to move the images inside your content folder to get them to work. For instance in my settings under “Files and Links” > “Attachment folder path” I have it set to “content/images”
Tip
I installed the Git community plugin on Obsidian which will make pushing to GitHub much easier and can make content as easy to publish on your website even simpler as you never even need to leave Obsidian!